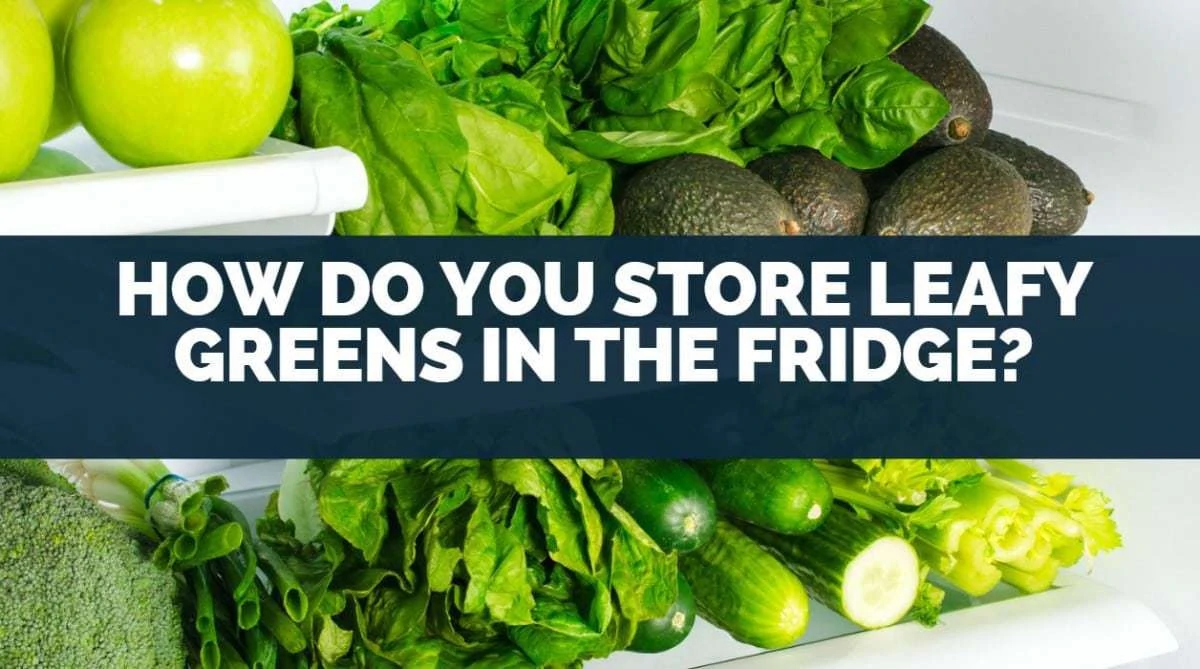
Are you trying to incorporate more greens into your life, but they always go bad before you even get a chance to enjoy them?
Chances are you aren’t maintaining them properly.
If that’s the case, then how do you actually store leafy greens in the fridge?
The easiest way to store leafy greens in the fridge is by thoroughly washing and drying them, then keeping them in a sealed container or bag with a paper towel.
Alternatively, you can purchase produce savers, store freshly cut greens on the counter in a glass of water, or blanch and freeze them.
If you struggle with keeping your produce fresh and crisp, you aren’t alone.
Luckily, we’ll teach you everything you need to know. Keep reading to learn more about how long you can store greens in the fridge, whether or not you can vacuum seal them, and the best storage methods.
Table of Contents
How Long Can Leafy Greens Be Stored in the Fridge?
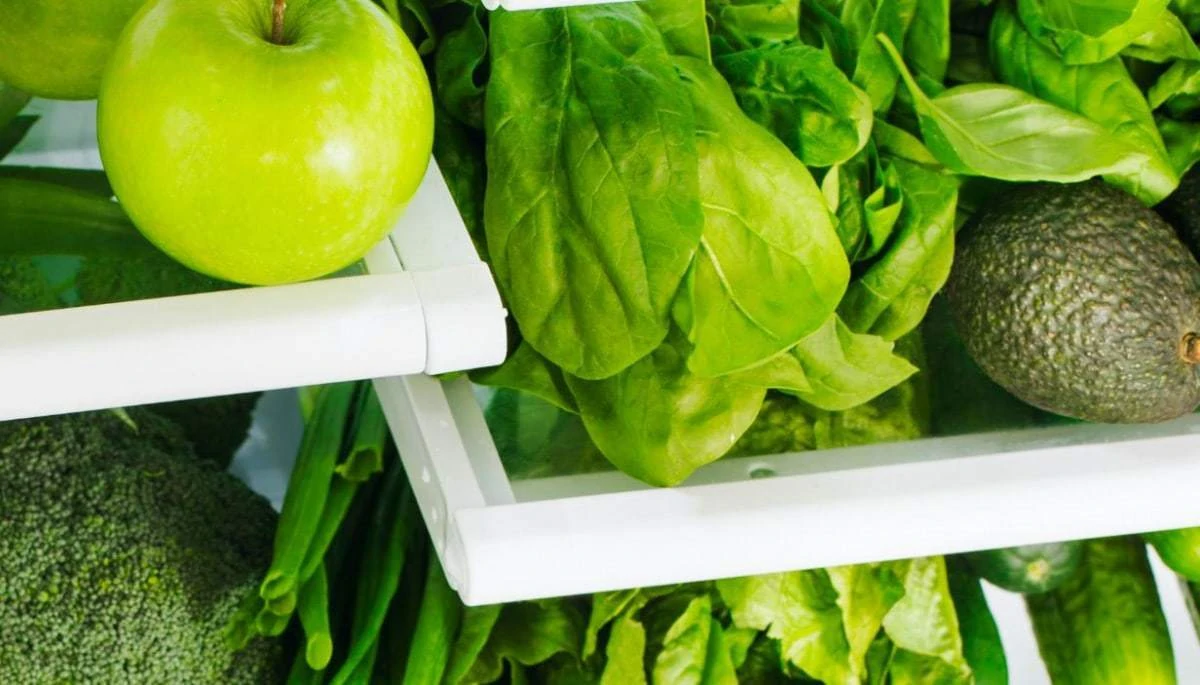
Not all leafy greens are created equal.
You may already have suspected this, given the whole transition away from pale iceberg lettuce towards bold green kale.
However, there are more differences between types of leafy greens than nutrient content.
Tender and hardy greens don’t behave the same way, so their shelf lives vary.
Shelf Life of Tender Leafy Greens in the Fridge
When stored properly, tender greens can last up to a week in the fridge.
Tender greens are leafy veggies that you typically eat raw or wilted. Additionally, they aren’t as tough as their hardy counterparts when it comes to cold-resistance.
Some examples of tender leafy greens include:
- Arugula
- Lettuce
- Baby spinach
- Mixed greens
- Watercress
Shelf Life of Hardy Leafy Greens in the Fridge
Hardy leafy greens have a slightly longer shelf life than their tender counterparts, but that doesn’t mean they will last forever.
You can expect hardy greens to stay fresh for slightly over a week, while some even hardier varieties can even last a couple of weeks.
There are many types of hardy leafy greens you may be familiar with, including:
- Collards
- Kale
- Chard
- Parsley
- Beet greens
- Cabbage
- Bok choy
How To Tell When Leafy Greens Have Gone Bad
You don’t have to keep track of how long your greens have been around to know when to throw them out.
Instead, you can keep an eye out for these signs that it’s time to toss your leafy greens:
- Sliminess
- Smelliness
- Yellowing
- Dark spots
Can You Vacuum Seal Leafy Greens?
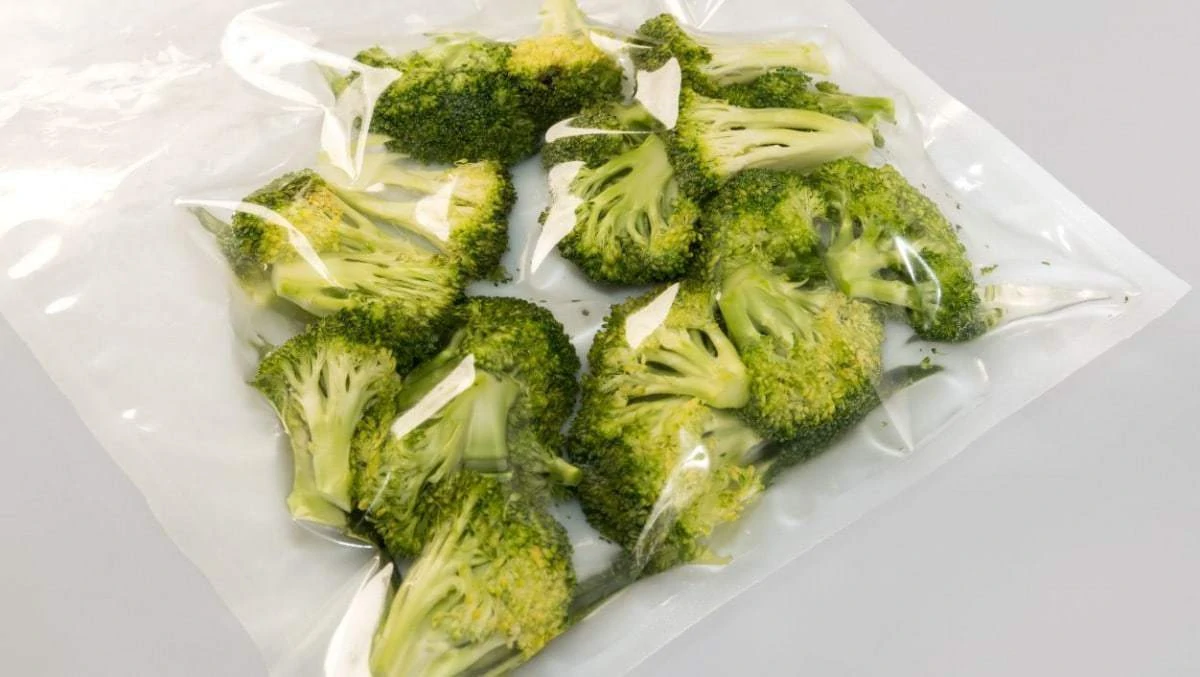
If you want to extend your leafy greens’ shelf life even further, you can try vacuum sealing them.
This air-tight storage method sucks out all the excess air in the bag creating an environment that minimizes or even inhibits the bacteria growth leading to spoilage.
However, some foods like soft cheeses or mushrooms should not be vacuum sealed as they contain bacteria that can still thrive without oxygen.
You can use two methods for vacuum sealing: storing your veggies fresh in the fridge or blanched in the freezer.
Unfortunately, most leafy greens shouldn’t be vacuum-sealed raw.
Luckily, you can seal and store kale, spinach, and arugula these veggies in the freezer if they’ve been blanched and dried first.
Storing vacuumed sealed veggies in the freezer comes with a unique set of advantages, including:
- Extended shelf life. Vacuum sealing food you intend to freeze can bring its lifetime from 6-12 months up to 2-3 years, which is an impressive feat considering fresh leafy greens only last about a week in the fridge.
- No more freezer burn. Since a vacuum-sealed package is air-tight, there’s no way that ice crystals can form on your food. That means you don’t have to suffer the disappointment of freezer-burnt food anymore!
- Preserve seasonal veggies at their peak. If you’ve ever had garden-fresh greens, you know that nothing else compares. You might not even eat them during the rest of the year because you know how good they are when they’re at their peak. Blanching, sealing, and freezing your leafy produce can deliver that unbeatable flavor year-round, so go ahead and stock up at the farmer’s market or harvest that garden!
For more information on what not to vacuum seal, check out this video:
What Is the Best Way To Store Leafy Greens?
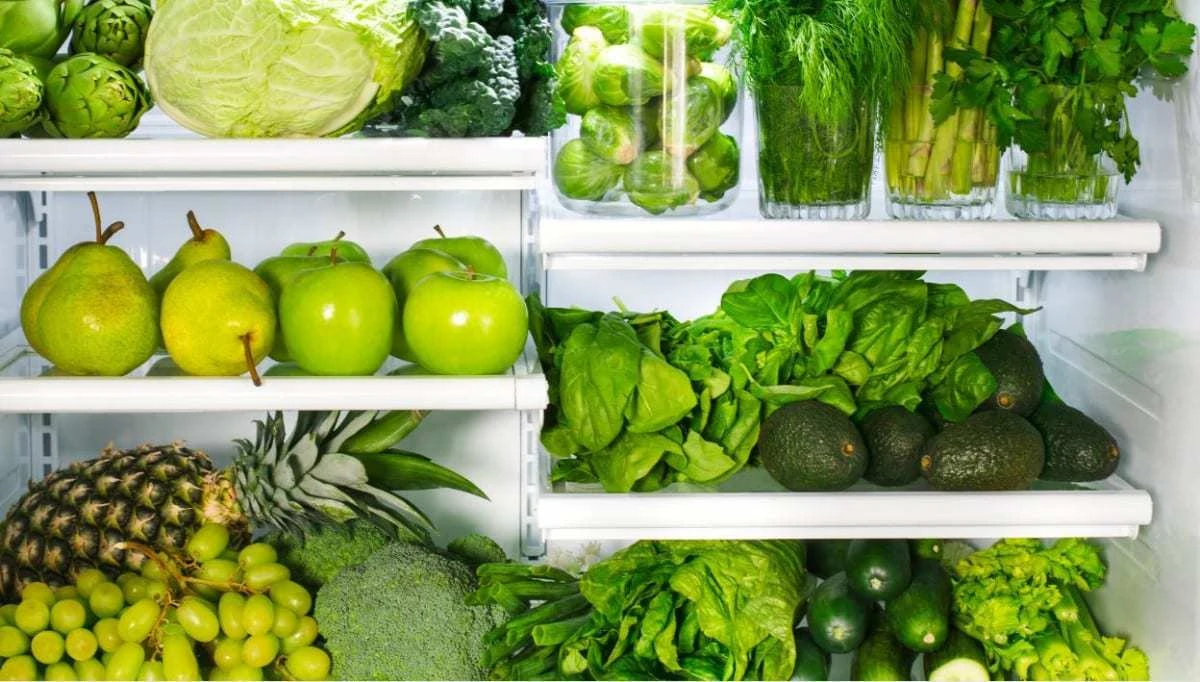
Proper storage is half the battle when it comes to keeping greens fresh and crisp.
Follow these techniques to ensure you’re always getting the most out of your leafy green veggies.
Pre-Wash Your Leafy Greens
Washing your greens as soon as you bring them home can extend their shelf life, but that’s not the only reason you should do it.
If your greens are already thoroughly washed, you’re more likely to reach for them.
This is a great tip for those of us who couldn’t be bothered to bring out the salad spinner every time we want some greens. Plus, it may encourage you to consume them faster, in which case you won’t have to worry about them going bad.
Here’s how to properly wash your leafy greens:
- Remove any wilted leaves. Before you start the washing process, examine your greens for any wilted pieces.
- Remove and discard them. Some people may not have a problem eating wilted leaves, but it is a sign that your veggies could have disease or rot.
- While you’re at it, feel free to throw out any tough stems, especially if you’re washing hardy greens.
- If you feel guilty about food waste, toss them in the compost instead!
- Wash with water. Throw your greens in a colander and thoroughly wash them under cold, running water, or toss them in a clean, water-filled sink.
- Whichever method you choose, agitate your greens, so they release the dirt from all their nooks and crannies. If you’re using the sink technique, you can let them sit for about 10 minutes so any debris can fall to the bottom.
- Spin your clean greens. Grab your salad spinner and load it up with your leafy veggies.
- Be careful not to fill it up too much, or else the water won’t release — and that’s the whole point of this step.
- If you’re opting to keep the whole heads of greens à la wedge salad, put that spinner away. Instead, place the head in a clean towel and shake the water out.
- Dry thoroughly. The most important part of washing greens is ensuring there’s no excess moisture.
- Water residue will accelerate the rate at which your greens go bad. Salad spinners usually leave some droplets, so lay your greens down on a paper towel and pat them with another piece to get them as dry as possible.
Now that your greens are clean, you can proceed with any of the following storage methods.
Zippered Bag or Airtight Container
You can store your freshly washed greens in either a zippered bag or sealed container accompanied by a dry, folded paper towel.
This will help absorb extra water to prevent early rotting while also keeping your greens nice and hydrated.
Store your veggie-filled bag or container in the fridge. Your greens will be ready to go whenever you are!
Freeze Leafy Greens for Later
As mentioned, you can freeze your greens if you aren’t going to be using them right away.
Doing so will preserve them longer, plus it’s always nice to have frozen veggies on hand.
To freeze your produce, it’s best to first blanch them.
If you aren’t familiar with this cooking technique, don’t fret. All it entails is quickly tossing your greens in a pot of boiling water, then cooling them off in an ice bath.
Most greens only require two minutes in each hot and cold water.
Then they’re ready to be drained, put in freezer-friendly containers, covered with ice water, and sent to the freezer.
Keep in a Glass of Water
You may be surprised to learn that you can store your leafy greens in a vase or glass of water, just like fresh cut flowers.
Give the stems a trim so the veggie can absorb water, then add a bit of cold water to the glass. Spritz daily and change out the water regularly, always ensuring the stems are covered. If you’re short on fridge space or in need of a new centerpiece, this is a great method.
No refrigeration is required!
Storage Containers for Leafy Greens
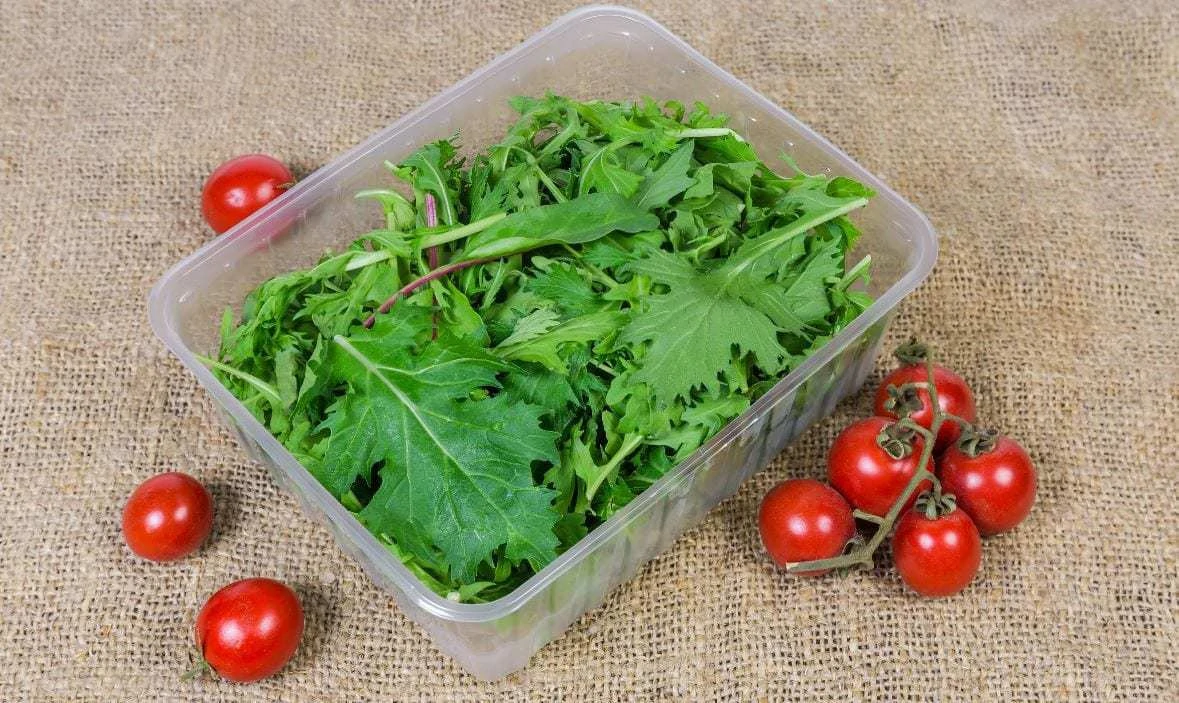
As mentioned, you can easily store leafy greens in zippered bags or any sealed container, but if you’re looking for something a little more elevated, check out these great options.
Komax Biokips Fridge Storage Container
You’ll never have to wonder if you fully sealed your lettuce keeper when you use Komax Biokips containers.
These multi-purpose plastic containers have four snap-locks, so you always get a perfect seal.
This, paired with its unique rectangular dimensions, makes these containers great for greens, loaves of bread, and even soup.
The Komax container can hold 3.5 liters (118 oz) of food and comes with a detachable raised drip tray.
Using this feature is a great way to keep your veggies dry, avoiding sliminess and increasing their shelf life.
Rubbermaid FreshWorks Produce Saver
Don’t feel like washing your greens right when you come home from the grocery store? No problem!
The Rubbermaid FreshWorks container is designed to store unwashed, uncut fruits and veggies so you can clean and prep whenever you feel like it. Luckily, this 17.3 cup (4 liters) produce saver is large enough to easily fit entire heads of lettuce.
So what else makes this produce saver special? FreshVent technology maintains a steady airflow to create the optimal environment for your greens to thrive.
Don’t worry; you never have to replace this filter. It lasts a lifetime! On top of that, the Crisp Tray ensures your veggies stay dry, and the entire container is dishwasher-friendly. What more could you ask for?
OXO Good Grips GreenSaver Herb Keeper
Say goodbye to finding slimy herbs in the fridge when it feels like you just bought them the other day.
The OXO Good Grips GreenSaver is the perfect vessel for your cilantro, basil, or any other greens you can fit in there.
The GreenSaver is strategically designed to hydrate your herbs while the basket keeps them safe and encourages healthy airflow.
Plus, this herb keeper is small enough to fit in your refrigerator door. The only problem is that you might go through them too quickly!
Final Thoughts
Proper storage is essential to get the most out of your fresh leafy greens.
The best way to do this is by washing and drying your greens well, then moving them to a sealed bag or container with a folded paper towel to absorb moisture.
There are also various produce keepers available on the market that you can slip into your fridge.
If you don’t have the fridge space, you can store greens on the counter in a bit of water like fresh-cut flowers or freeze them for later use.

Leave a comment